If you have limited knowledge about JavaScript, building native Gutenblocks can be a challenge. All the documentation contains JavaScript. Yet, when you build a theme, most things are done with PHP. Advanced Custom Fields (ACF) built a great bridge to close this gap, allowing you to build Gutenblocks with just PHP!
As ACF is an easy way for new developers to extend WordPress, I always make it my go-to plugin when I want something customized within a theme. It’s easy, pretty fast and easy to understand – with clear documentation.
To demonstrate this, we are going to create a block that only holds an employee’s name. This block can be used anywhere in the site where you have Gutenberg running.
To start creating a Gutenblock with ACF, firstly, you need to install ACF itself. To create a custom block, we need the “PRO” version of ACF. You can get this on their website.
Register the custom block
With ACF PRO installed, let’s move to our theme directory and open the functions.php file of the theme you’re working in.
Remember, if you’re altering a theme that is not yours, please make sure you use a child theme, otherwise everything you do will be removed when updating the theme!
Within functions.php, we start writing our first bit of code. We start with the following:
Let’s talk about what we are doing. First, we have the function “my_register_blocks()”; This will contain all blocks that we are going to create. The second line is a check if the function “acf_register_block()” exists. If not, we don’t do anything, as we only need to execute the function when ACF is installed and activated.
After that, we call the function to create a Gutenblock with ACF width “acf_register_block”. We give it an array with multiple parameters:
The name -> The name to use when referring to the block in code.
The title -> The label for users to see.
Render template -> The file that contains the block.
There are plenty more parameters to fill, but the ones above are always required.
Adding fields to the block.
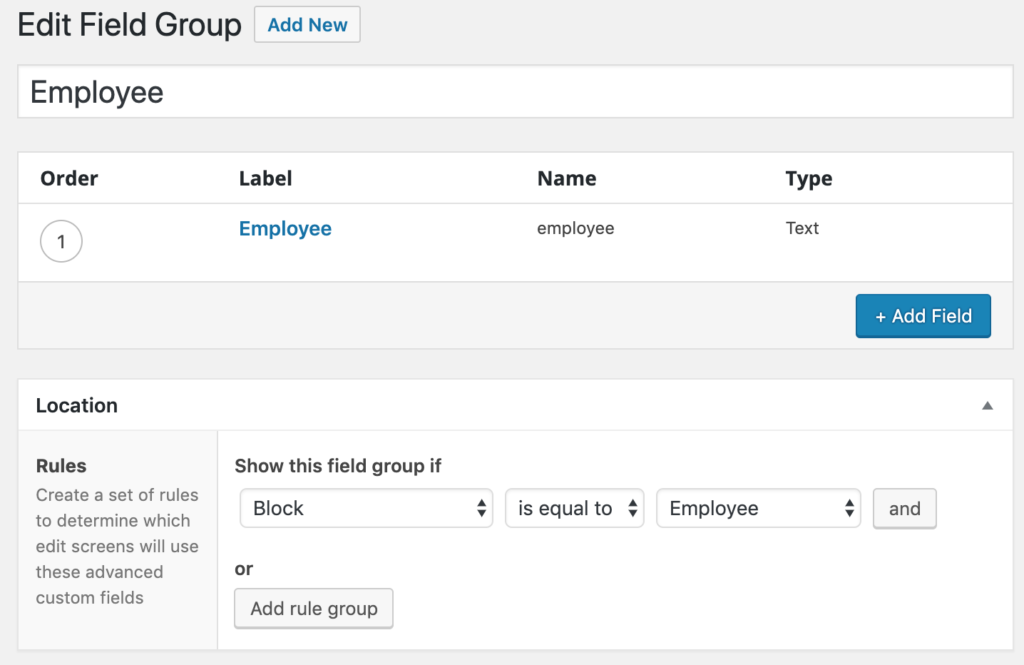
When this is done, let’s go to ACF. ACF is known as “Custom Fields” in the WordPress admin sidebar. Hover over “Custom Fields” and click “Add New”. At the top, fill in a name for your block. For now, let’s go for “Employee”. Then, press “Add field”, fill in the label with “Employee”. The field name will be inserted by default. Next, scroll down a bit and go to “Location”. In this section, we can define the logic for when we need to show this custom field group. In the dropdown “Show this field group as”, select “Block” and then, on the most right dropdown select “Employee”. Now, the result should be, if we read from left to right including the label: “Show this field group if Block is equal to Employee”.
For a complete overview, it should look like the screenshot below.
Scroll back to the top, and on the right side of the screen, you’ll see a “Publish” button. Press this and we are done with ACF in the WordPress admin.
Back to the code! In de function where we created our block, we set a path to a file where we build our block. Go to that file or create that file in the right place and then, let’s start writing some code down.
Let’s explain what we did. We open a DIV with a simple class name so we can style it a bit if we need to. Second, we use the ACF function “the_field()” to render the field that we just created. In the function, we give the name of the field we created in WordPress so the template knows what field we need.
This is all you need to do! You got your first block up and running!
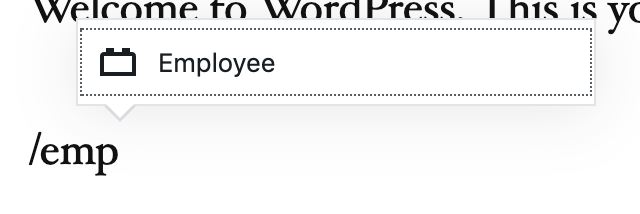
So, let’s see what this looks like in the Gutenberg Editor. Create a new post or edit an existing post. Add a new block and select the new Employee block. You can find the block in the “common” category or by inserting “/emp” and the block will show up.
To quickly access a block, you can use “backslash + block name” to quickly insert the block!
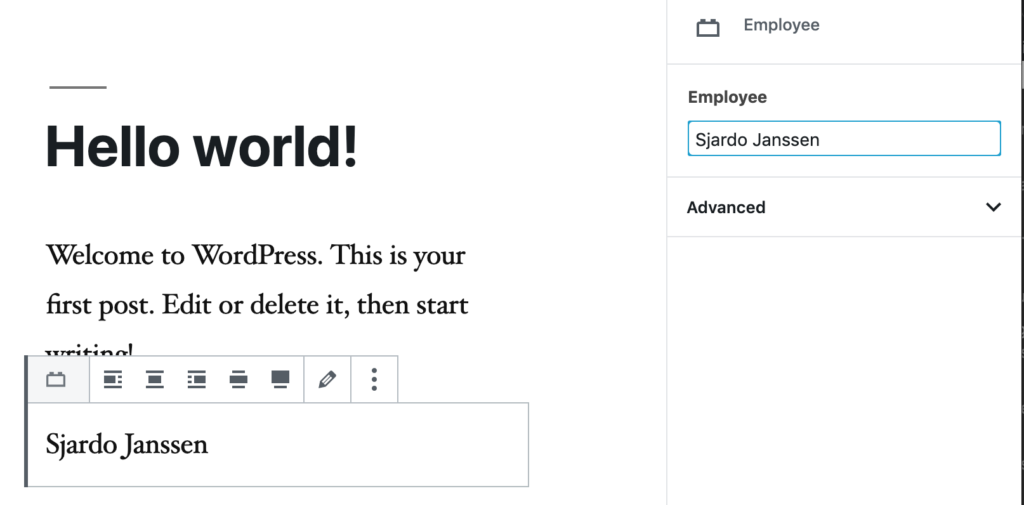
At first, you will see an “empty” block. Nothing to see. On the right sidebar you will see your field “employee”, which you can fill in. Go try it out! After filling the input field with a name, you should directly see the name within the block!
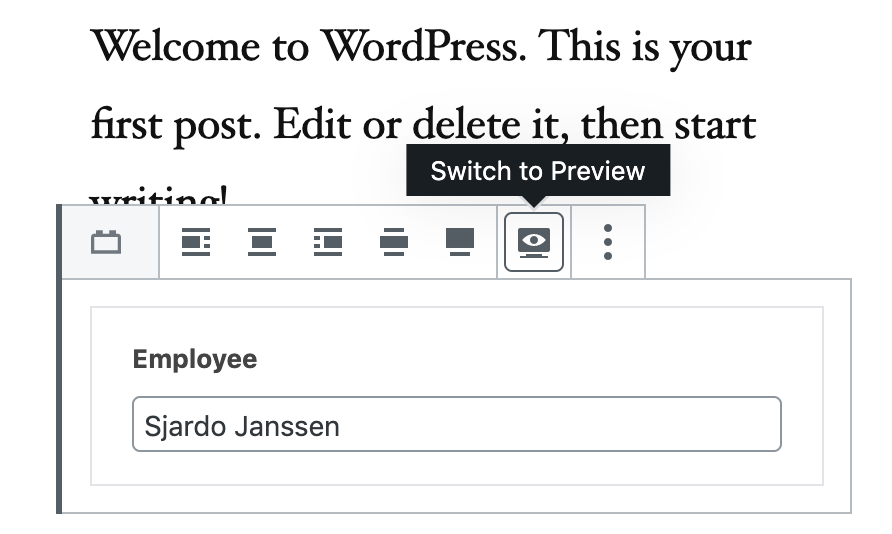
Another option is selecting the pencil in the action bar above the block and you will see the input field over there. If you fill that input field and you press the preview button, the block is also filled.
That’s it! Save the post and check it out!
Conclusion
In short: thanks to Advanced Custom Fields, we can easily create a variety of blocks with minimal knowledge of code. This is just a small example, but with ACF, you can do a bunch more complex stuff without the need of learning Javascript. If you need more information about ACF Blocks, please check their great documentation!
April 25 - 26, 2024
Team Yoast is at Attending, Speaking, Sponsoring Brighton SEO! Click through to see who will be there, what we will do, and more!
See where you can find us next »
24 April 2024
Learn how to start your SEO journey the right way with our free webinar. Get practical tips and answers to all your questions in the live Q&A!
All Yoast SEO webinars »